We all know whether we are designing eye-catching visuals for social media or creating impressive website graphics, Stable Diffusion image size really matters.
When I searched about it, I found a discussion on r/StableDiffusion where some users face issues related to image size impact, including repetition patterns, resolutions, and GPU influence.
And finally, fixing all the issues, I am going to share here all the solutions and tips.
But, before diving into the sizes, let me clarify the below question first.
Does Size Matter in Stable Diffusion?
Yes, image size can have a significant impact on the quality of images generated by Stable Diffusion.
Because in the context of deep learning and image generation models, the term “size” typically refers to the resolution or dimensions of an image.
And as the models are trained on images that are 512×512 pixels in size, it does its best work when creating images of this size.
But it can also generate images of varying sizes, ranging from 64×64 to 2048×2048 pixels.
So…
Why Image Size Matters:
Actually, I have found three crucial things during my experimentation with image sizes in stable diffusion that you should keep in mind when choosing size.
GPU Power:

Smaller images are quicker for the model to make because there are fewer pixels to deal with.
But bigger images take more time because there are more pixels and details to handle.
That’s why making them right is harder for the model as it has to manage lots of relationships between pixels.
So, it is clear that your GPU is a crucial part of choosing your image size.
Model’s Power:
Having more pixels doesn’t always mean better quality. At this point, the model’s design plays a crucial role in your image generation.
That’s why I recommend checking your model’s ability and specifications from the source before generating an image.
Picking the Right Size for a Style:
Here I actually want to talk about the best width and height for stable diffusion to generate a particular image style, i.e., aspect ratio.
Yes, aspect ratio matters.
To clarify, let me generate a “super cute woman”.
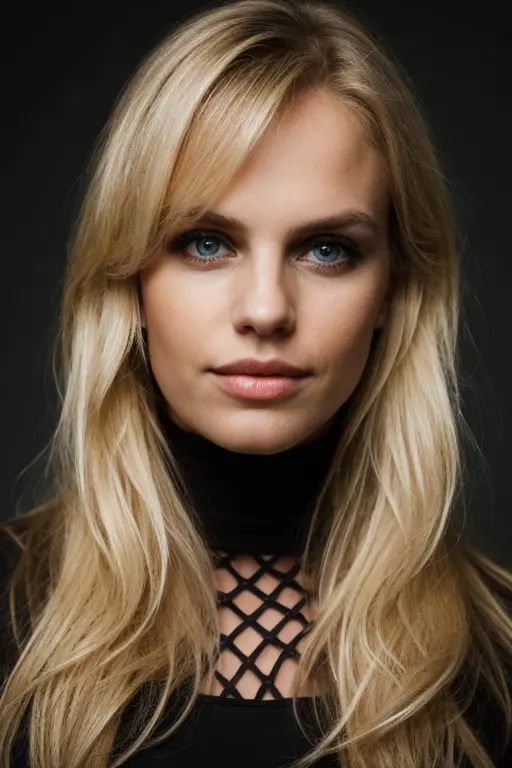
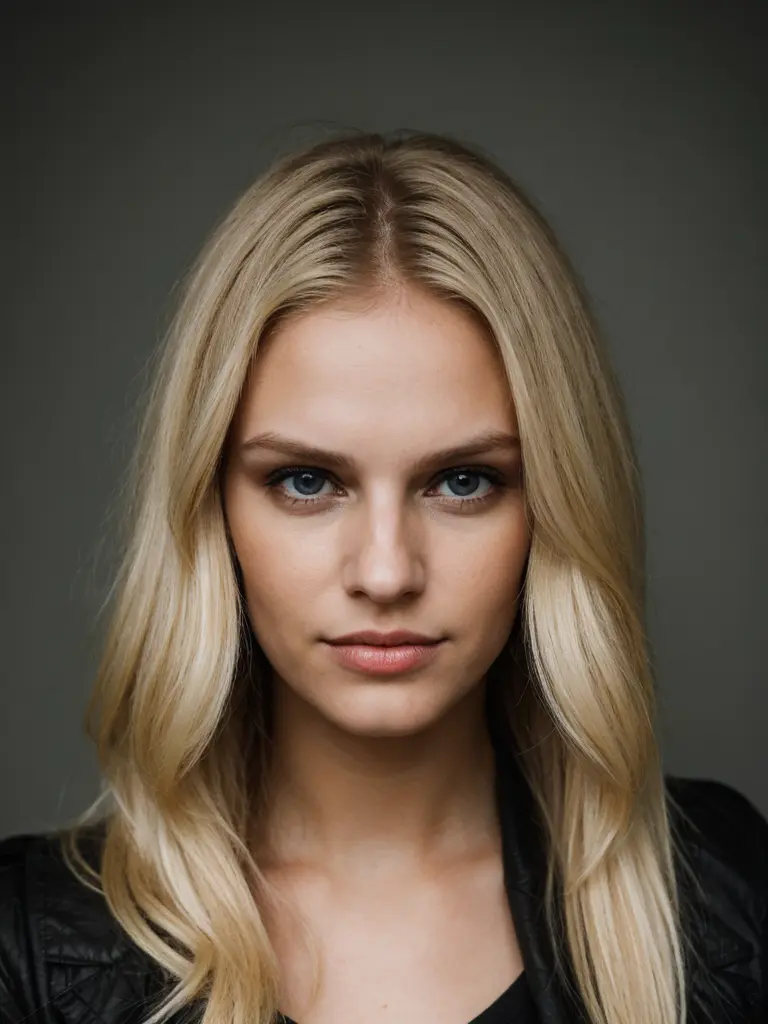
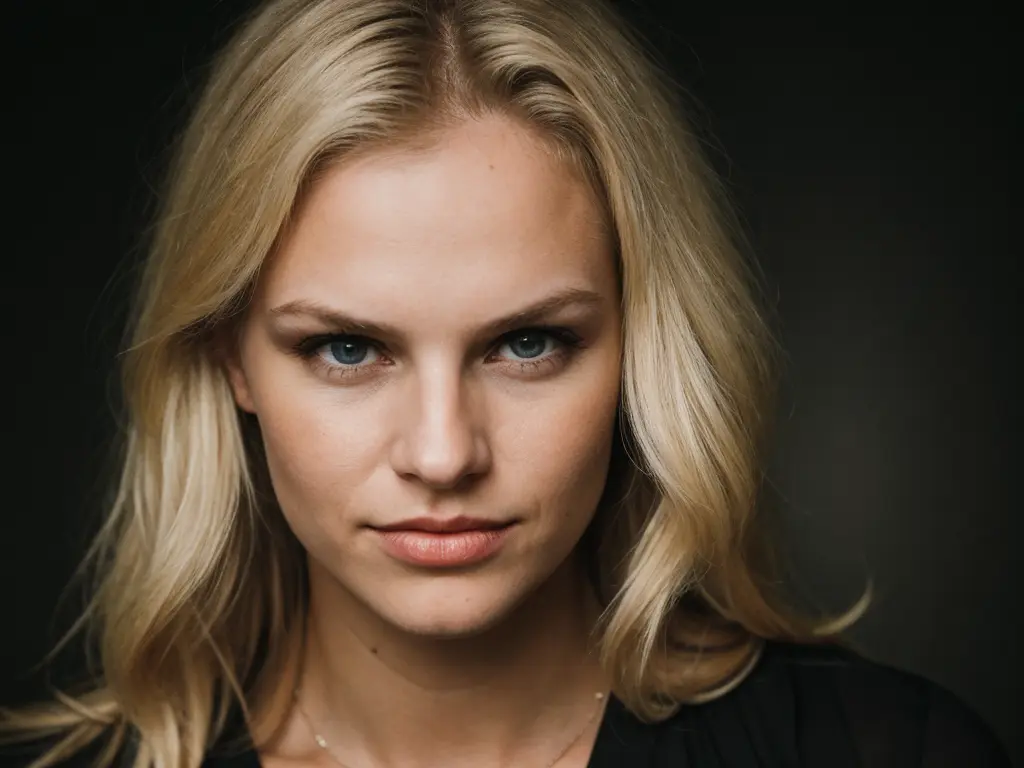
You can see the best ratios are either 2:3, 3:4, or 3:2, not 4:3. In terms of width and height, it is either 512×768, 768×1024, or 768×512, not 768×512.
(I have adjusted image sizes to showcase here, but the aspect ratios remain the same.)
Fear not, I have provided a list below for more clarification to help you choose the right size for all Stable diffusion styles.
Best Image Size for Stable Diffusion
So, now let’s see the list of the best widths and heights for stable diffusion alongside how these relate to other factors.
| Image Size (Width × Height) | Best For (Image Style) | GPU Memory | Steps | CFG Scale |
|---|---|---|---|---|
| 512×512 | All types of Images | Low | 40+ | 7 |
| 512×768 | Portrait images of human | Mwdium | 20 | 5 |
| 512×1024 | Archetectural Design | Medium | 20 | 7 |
| 768×512 | Landscape images | Medium | 25 | 7.5 |
| 768×768 | All type of Images | Medium | 20 | 5 |
| 768×1024 | Portrait and Landscape images | High | 25 | 7 |
| 1024×1024 | Detailed Images | High | 30 | 6 |
| 256×256 | logo design | low | 40 | 5 |
| 64×64 | Icon design | low | 20 | 7 |
| 2048×2048 | Very Detailed Images | Very High | 50+ | 6 |
So, it is clear that choosing the image size depends on what you’re doing.
The above list is just about what we find in the sweet spot for what we’re trying to do!
Now, let’s explore the issues we may face when choosing image size and tips to solve them.
Issues in Relation to Image Size.
The list comprises various issues related to image quality in relation to size that we identified during tests and discussions on r/StableDiffusion.
1. Repetition Patterns: So, if you go for big sizes like over 512×512, you might get some repeat patterns in your images.
It’s like déjà vu, but not the cool kind. Makes things less interesting visually. Below is an example.
Prompt: professional photo, photo of autumn landscape, dramatic lighting, gloomy, cloudy weather
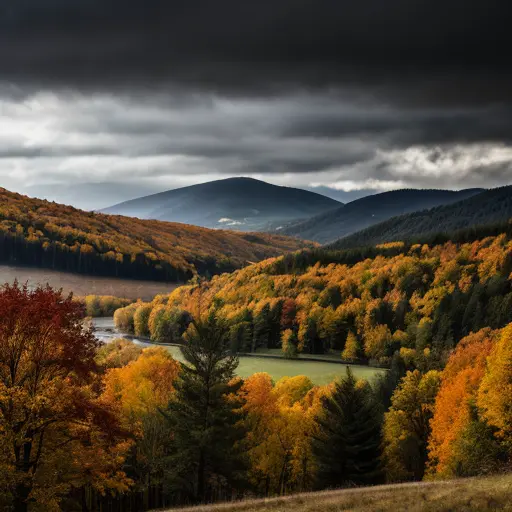
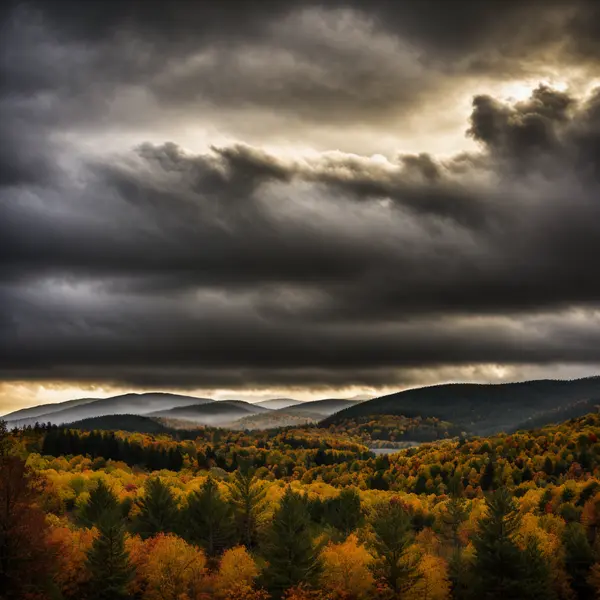
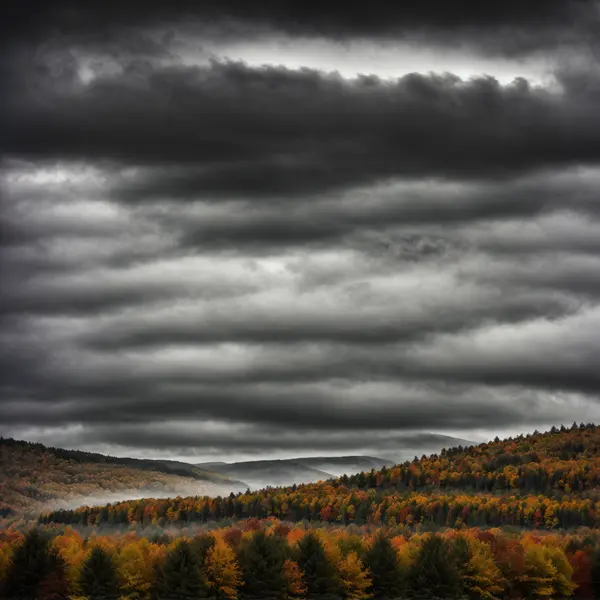
(I have resized the images after generation to fast my webpage)
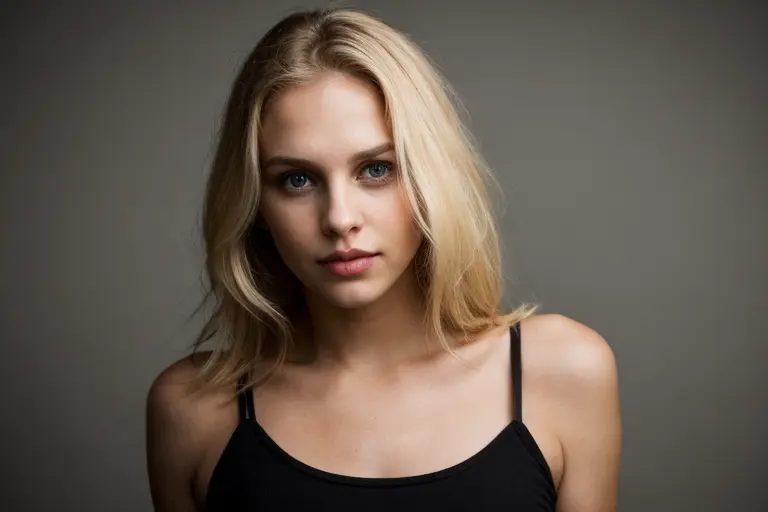
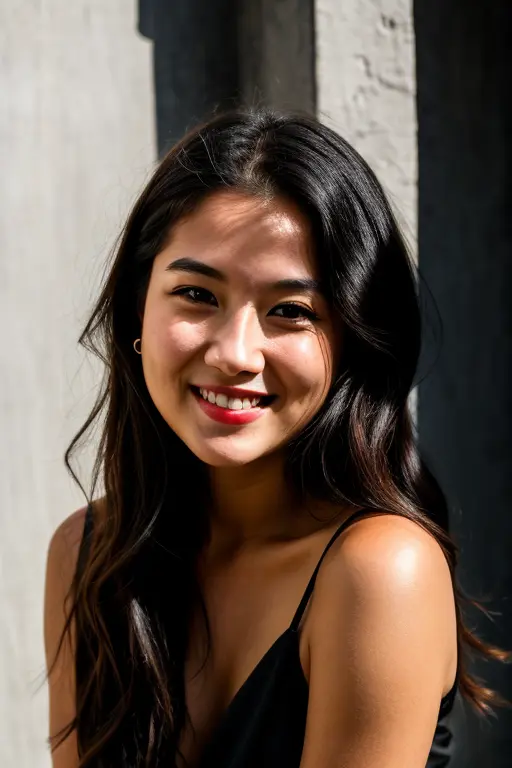
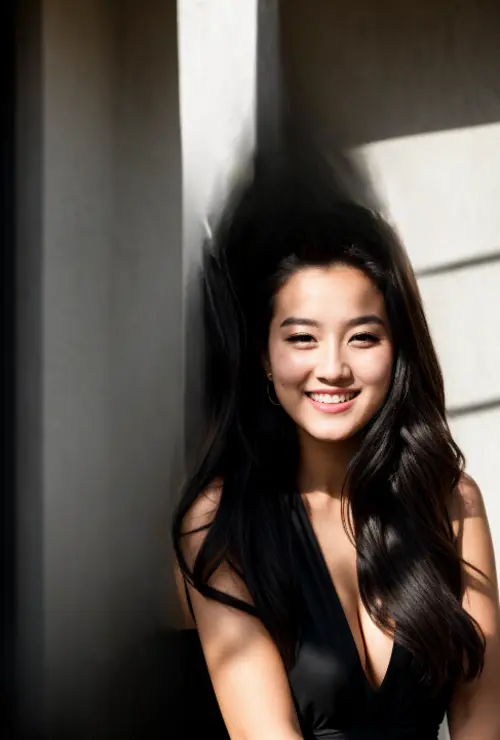
2. Composition and Detail: When you go big, your image might not fill the whole space, and some cool details might go MIA. Bigger doesn’t always mean better quality or cooler content.
Prompt: RAW photo, face portrait photo of beautiful 26 y.o woman, cute face, wearing black dress, happy face, hard shadows, cinematic shot, dramatic lighting
3. VRAM Constraints: VRAM (that’s Video Random Access Memory) can be a buzzkill. If it’s not enough, you might get errors or your whole process might slow down when you’re trying to make those big images.
It’s like your computer saying, “Hold up, I need more space!”
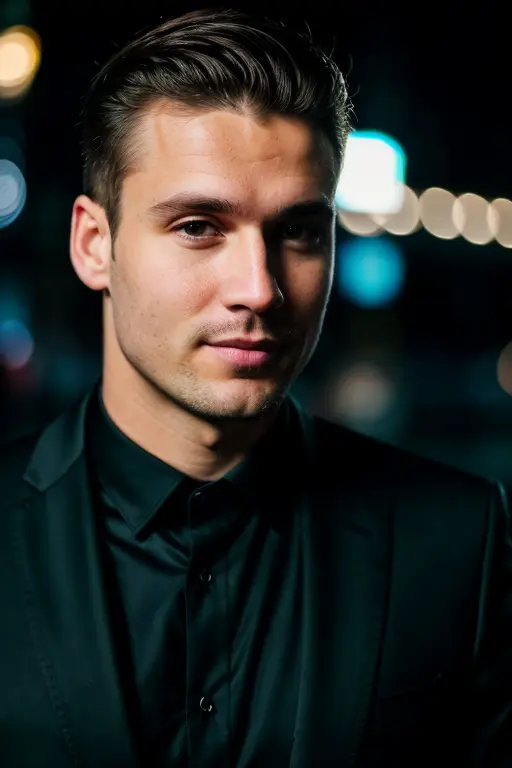
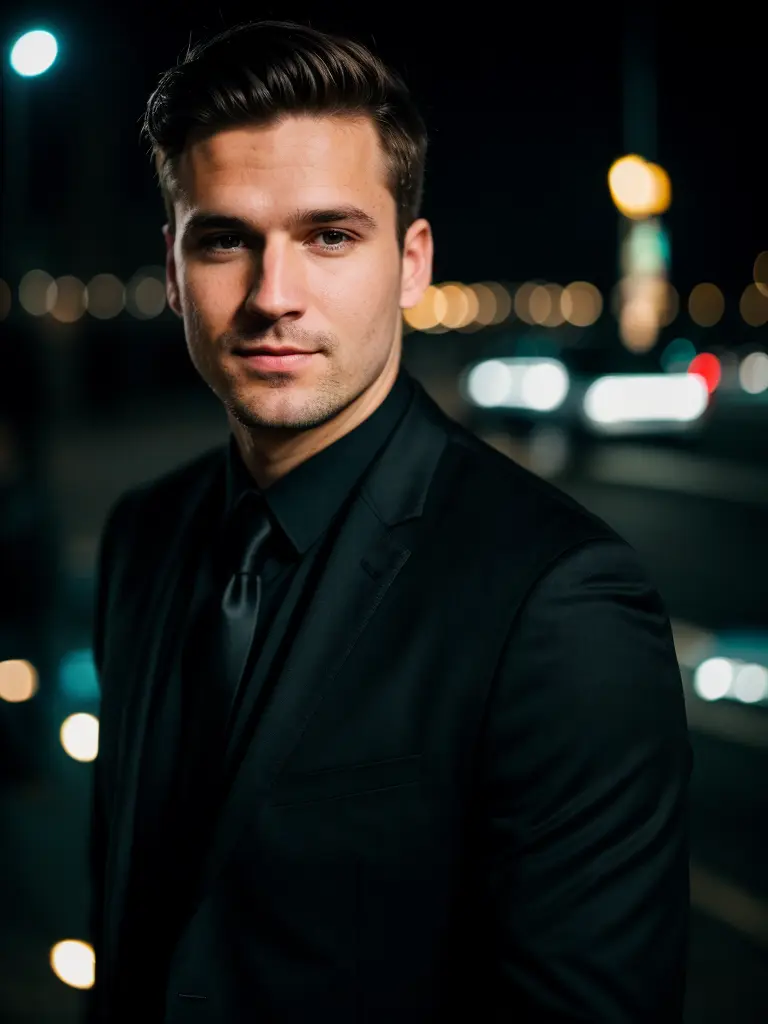
4. Seed Variability: Changing the seed can give you totally different vibes in your images.
But, be cautious – comparing the same seed at different sizes might not give you the best comparisons. Pixels get all tangled up, you know?
Below is the clarification:
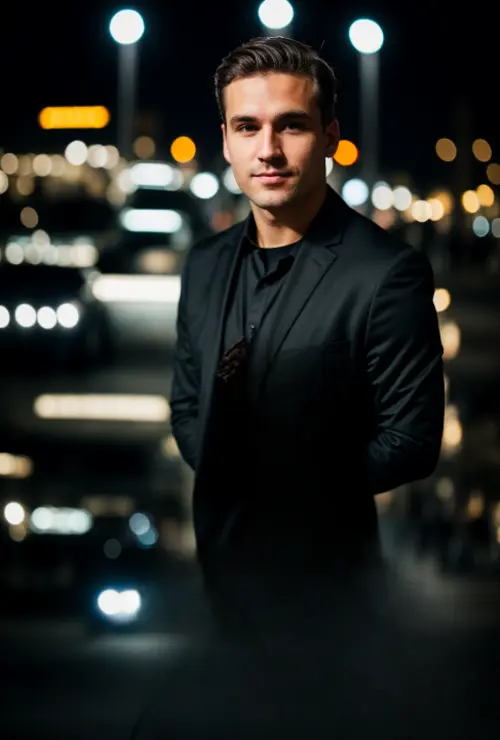
Prompt: closeup face photo of caucasian man in black clothes, night city street, bokeh
Seed: 846736070
5. Resolution vs. Steps: Some people say resolution is the real MVP. Bigger resolutions with fewer steps can make cooler images than lower resolutions with more steps. Quality over quantity, my friends.
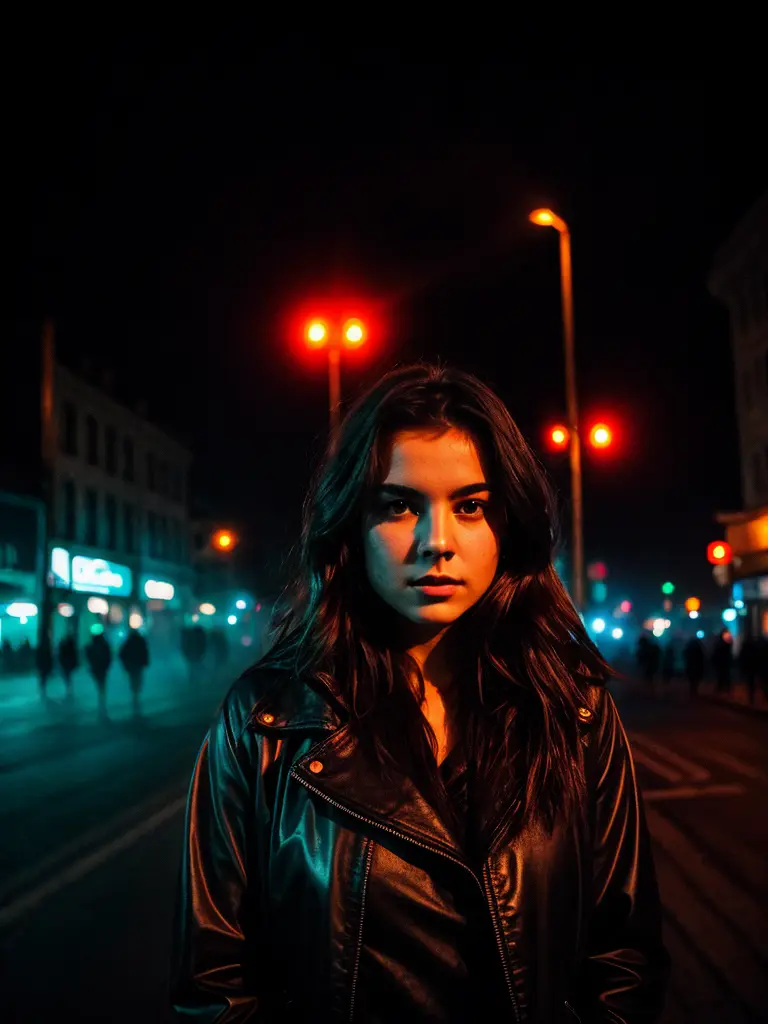
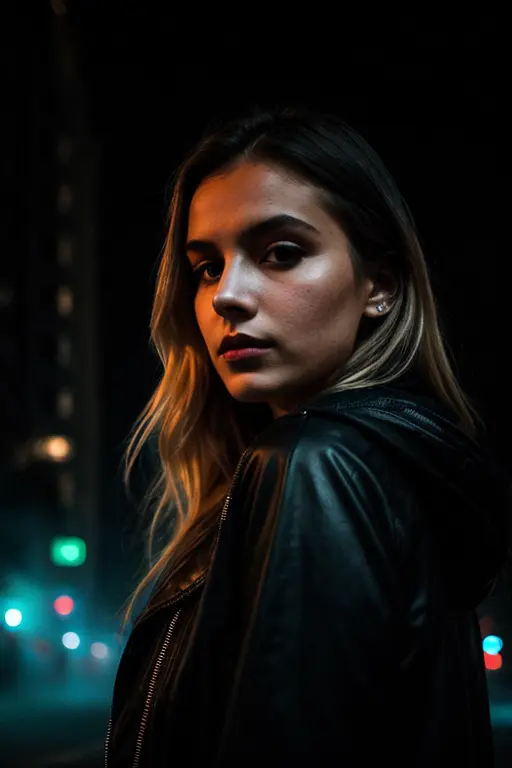
Prompt: city street, neon, fog, volumetric, closeup portrait photo of young woman in dark clothes
Steps: 20 and 80
I hope you got the point.
Now, after encountering these issues, our team actively engages in troubleshooting and gains some insights.
How do you make Stable Diffusion generate better images?
Now, striving for top-notch images, here are some creativity-friendly tips:
1. Start Small, Scale Up: Begin with a small image and only go bigger if needed. It keeps things efficient and might save you some headaches.
2. Play with Prompts: Experiment with different prompts. Specify subjects, actions, or environments for diverse and interesting results.
3. Upscaling with Img2Img: Try out Img2Img for upscaling. It keeps your image quality intact without needing crazy native resolutions.
4. VRAM Hacks: If VRAM is cramping your style, tweak settings like `–medvram` and `--precision full`. It’s like giving your GPU a tune-up.
5. Seed and Style Vibes: Mix up your seeds for different styles. Also, play with “Init Image” strength for cool color vibes.
6. Aspect Ratio Caution: Deviating from square aspect ratios may not always be right. So, adhering to our list of the best image sizes provided above might be your primary tool to kickstart your creative groove.
7. Mix and Match Settings: Try different combos of settings, resolutions, and prompts. It’s like finding your creative sweet spot through trial and error.
8. Resolution Experiments: Test different resolutions. Some swear by 512×512, others love 640×640. It depends on your vibe and scene complexity.
In conclusion, the tips and solutions center around experimentation and optimization.
Feel free to implement them from your end and comment below if you have any further questions or need additional guidance.

Hi there! I’m Zaro, the passionate mind behind aienthusiastic.com. With a background in Electronics Science, I’ve had the privilege of delving deep into AI and ML. And this blog is my platform to share my enthusiasm with you.